What I’m Wearing Today
On 28th January 2025, Fashion Design and Promotion students began Semester Two, with our first session back being MED257, a fashion styling module, with lecturer, Liz Lamb. Our first point of action was completing health and safety training with the photography technicians. We learned how to safely and correctly use the photography equipment. Once completed, we began our weekly challenge, which aptly was: What I’m Wearing Today.
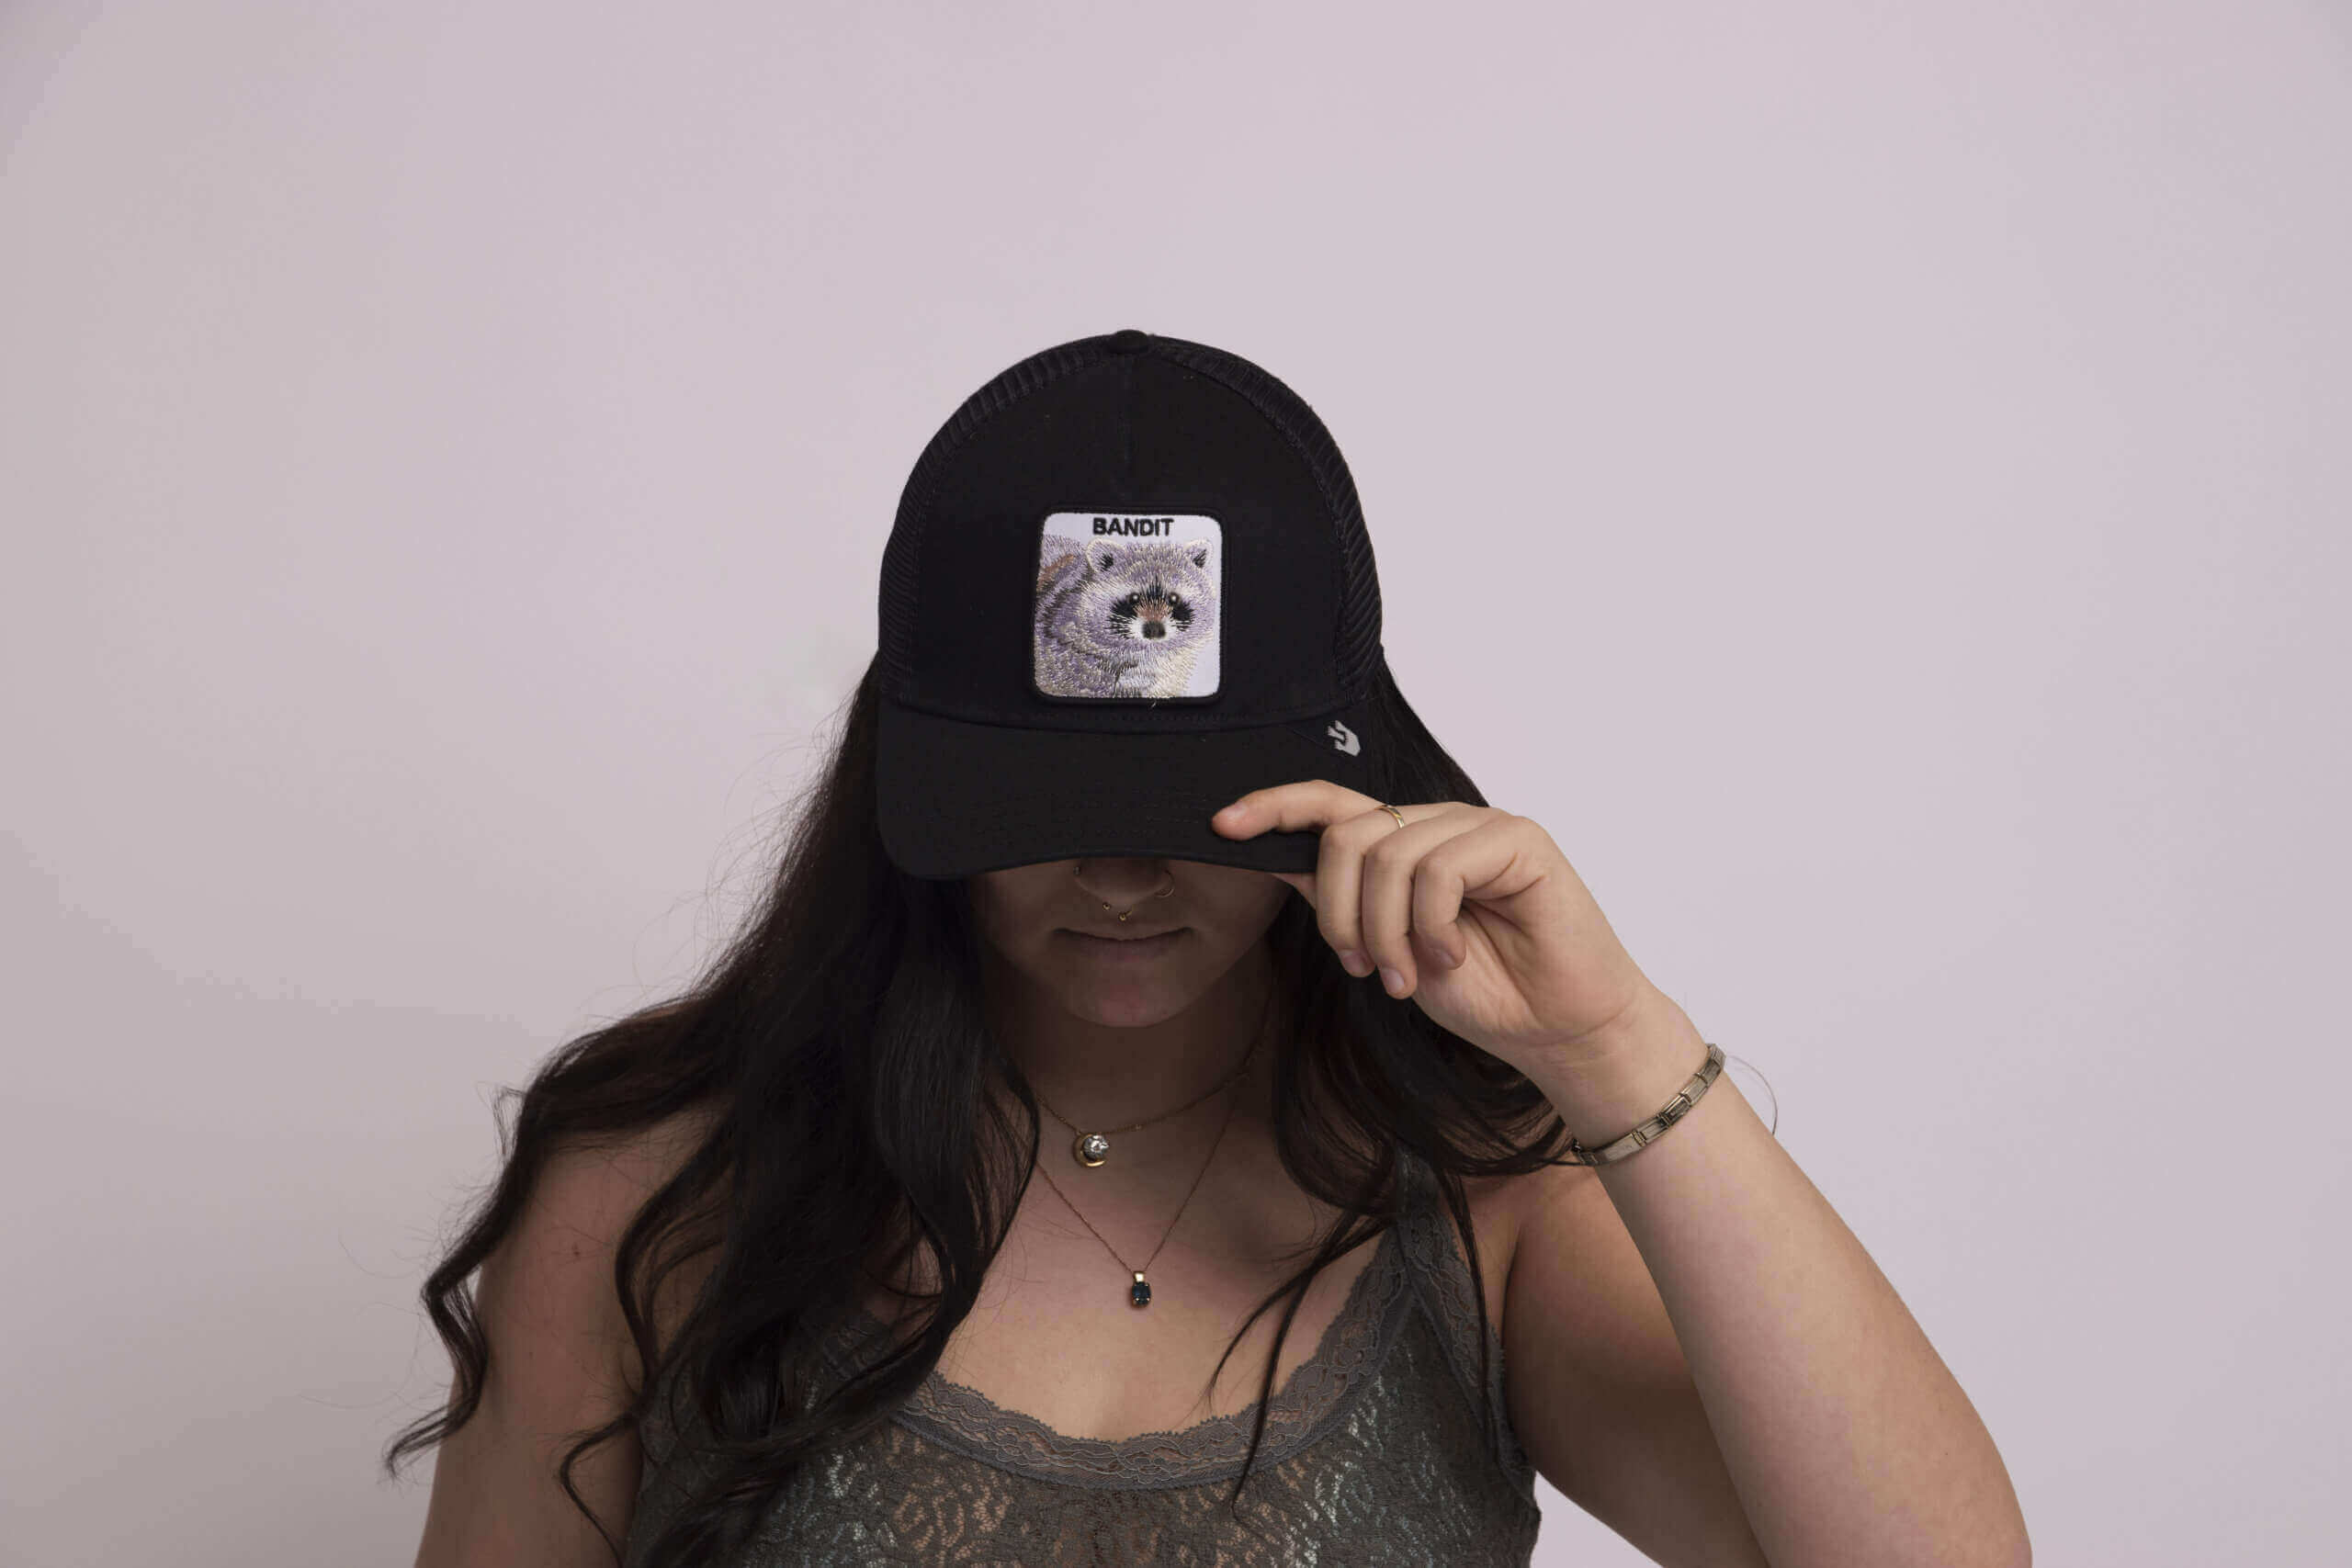
Knowing we’d be modelling our outfits, I tried to look my best in an outfit that I liked visually, but also felt comfortable in. Getting in front of a professional camera for the first time was nerve-wracking, as I’m usually reluctant to just iPhone pics! My first shot was full body length, capturing my shoes (Nike Air Max More Uptempo) to my cap (Goorin Bros).

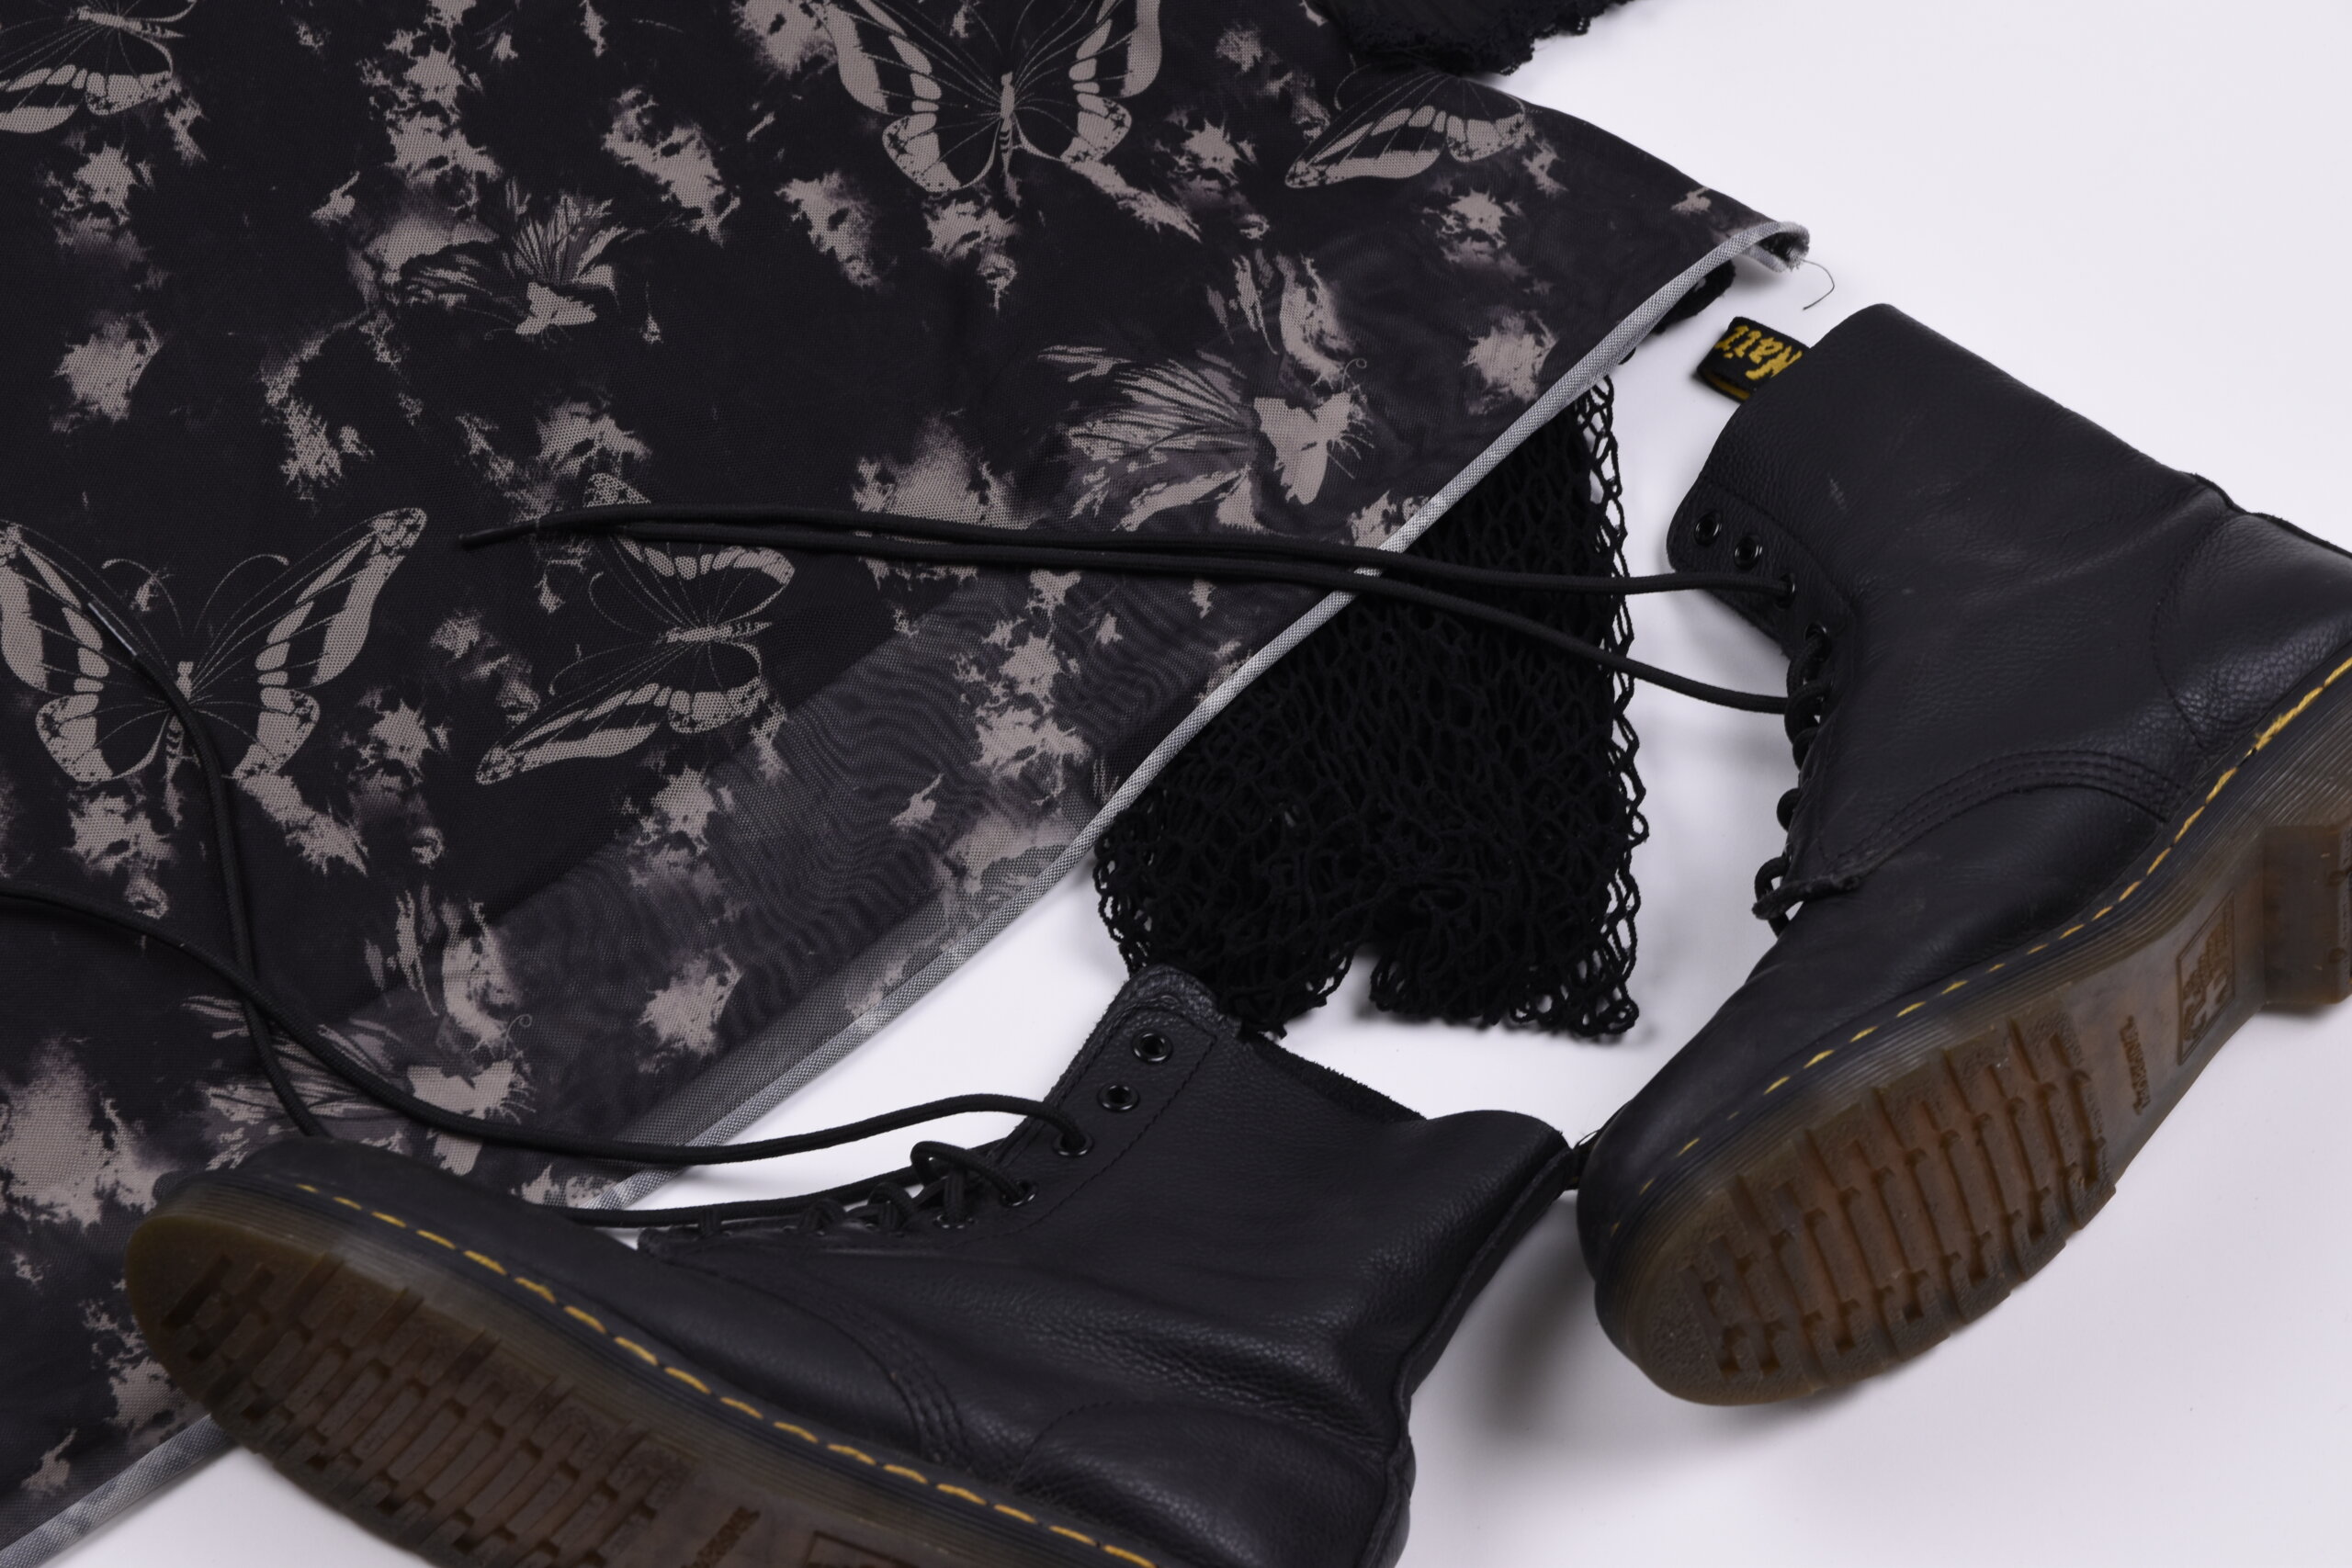
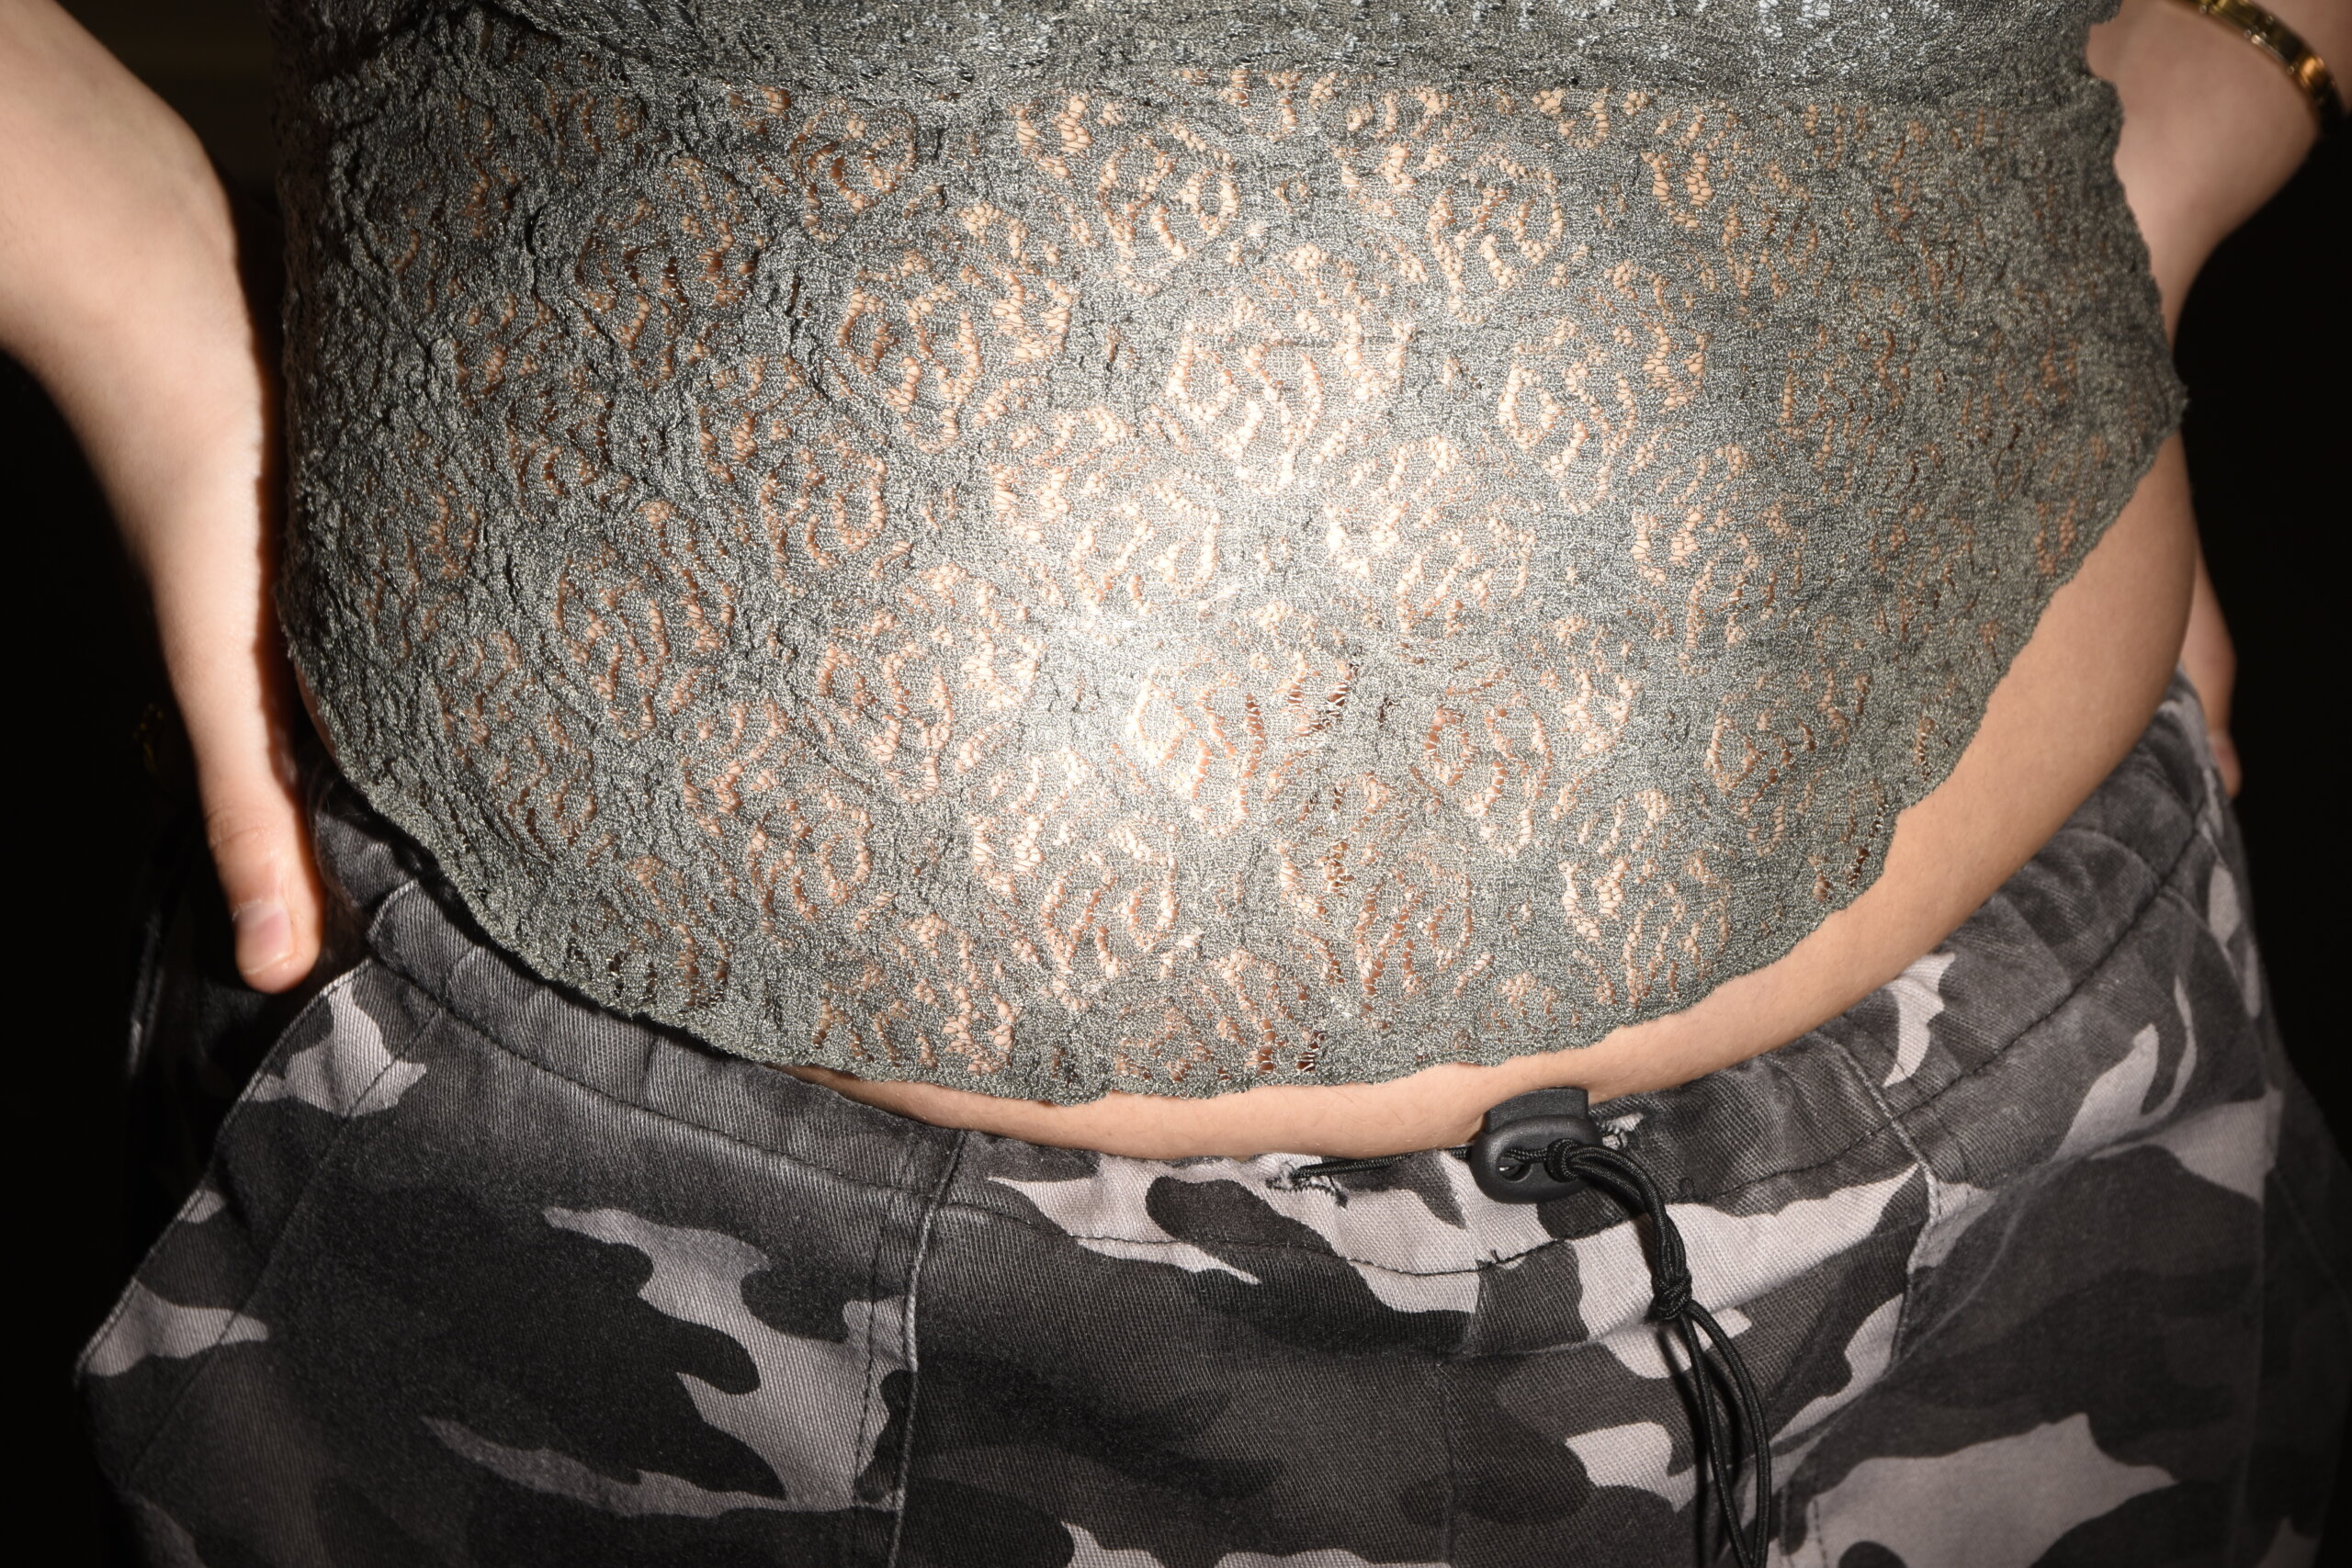
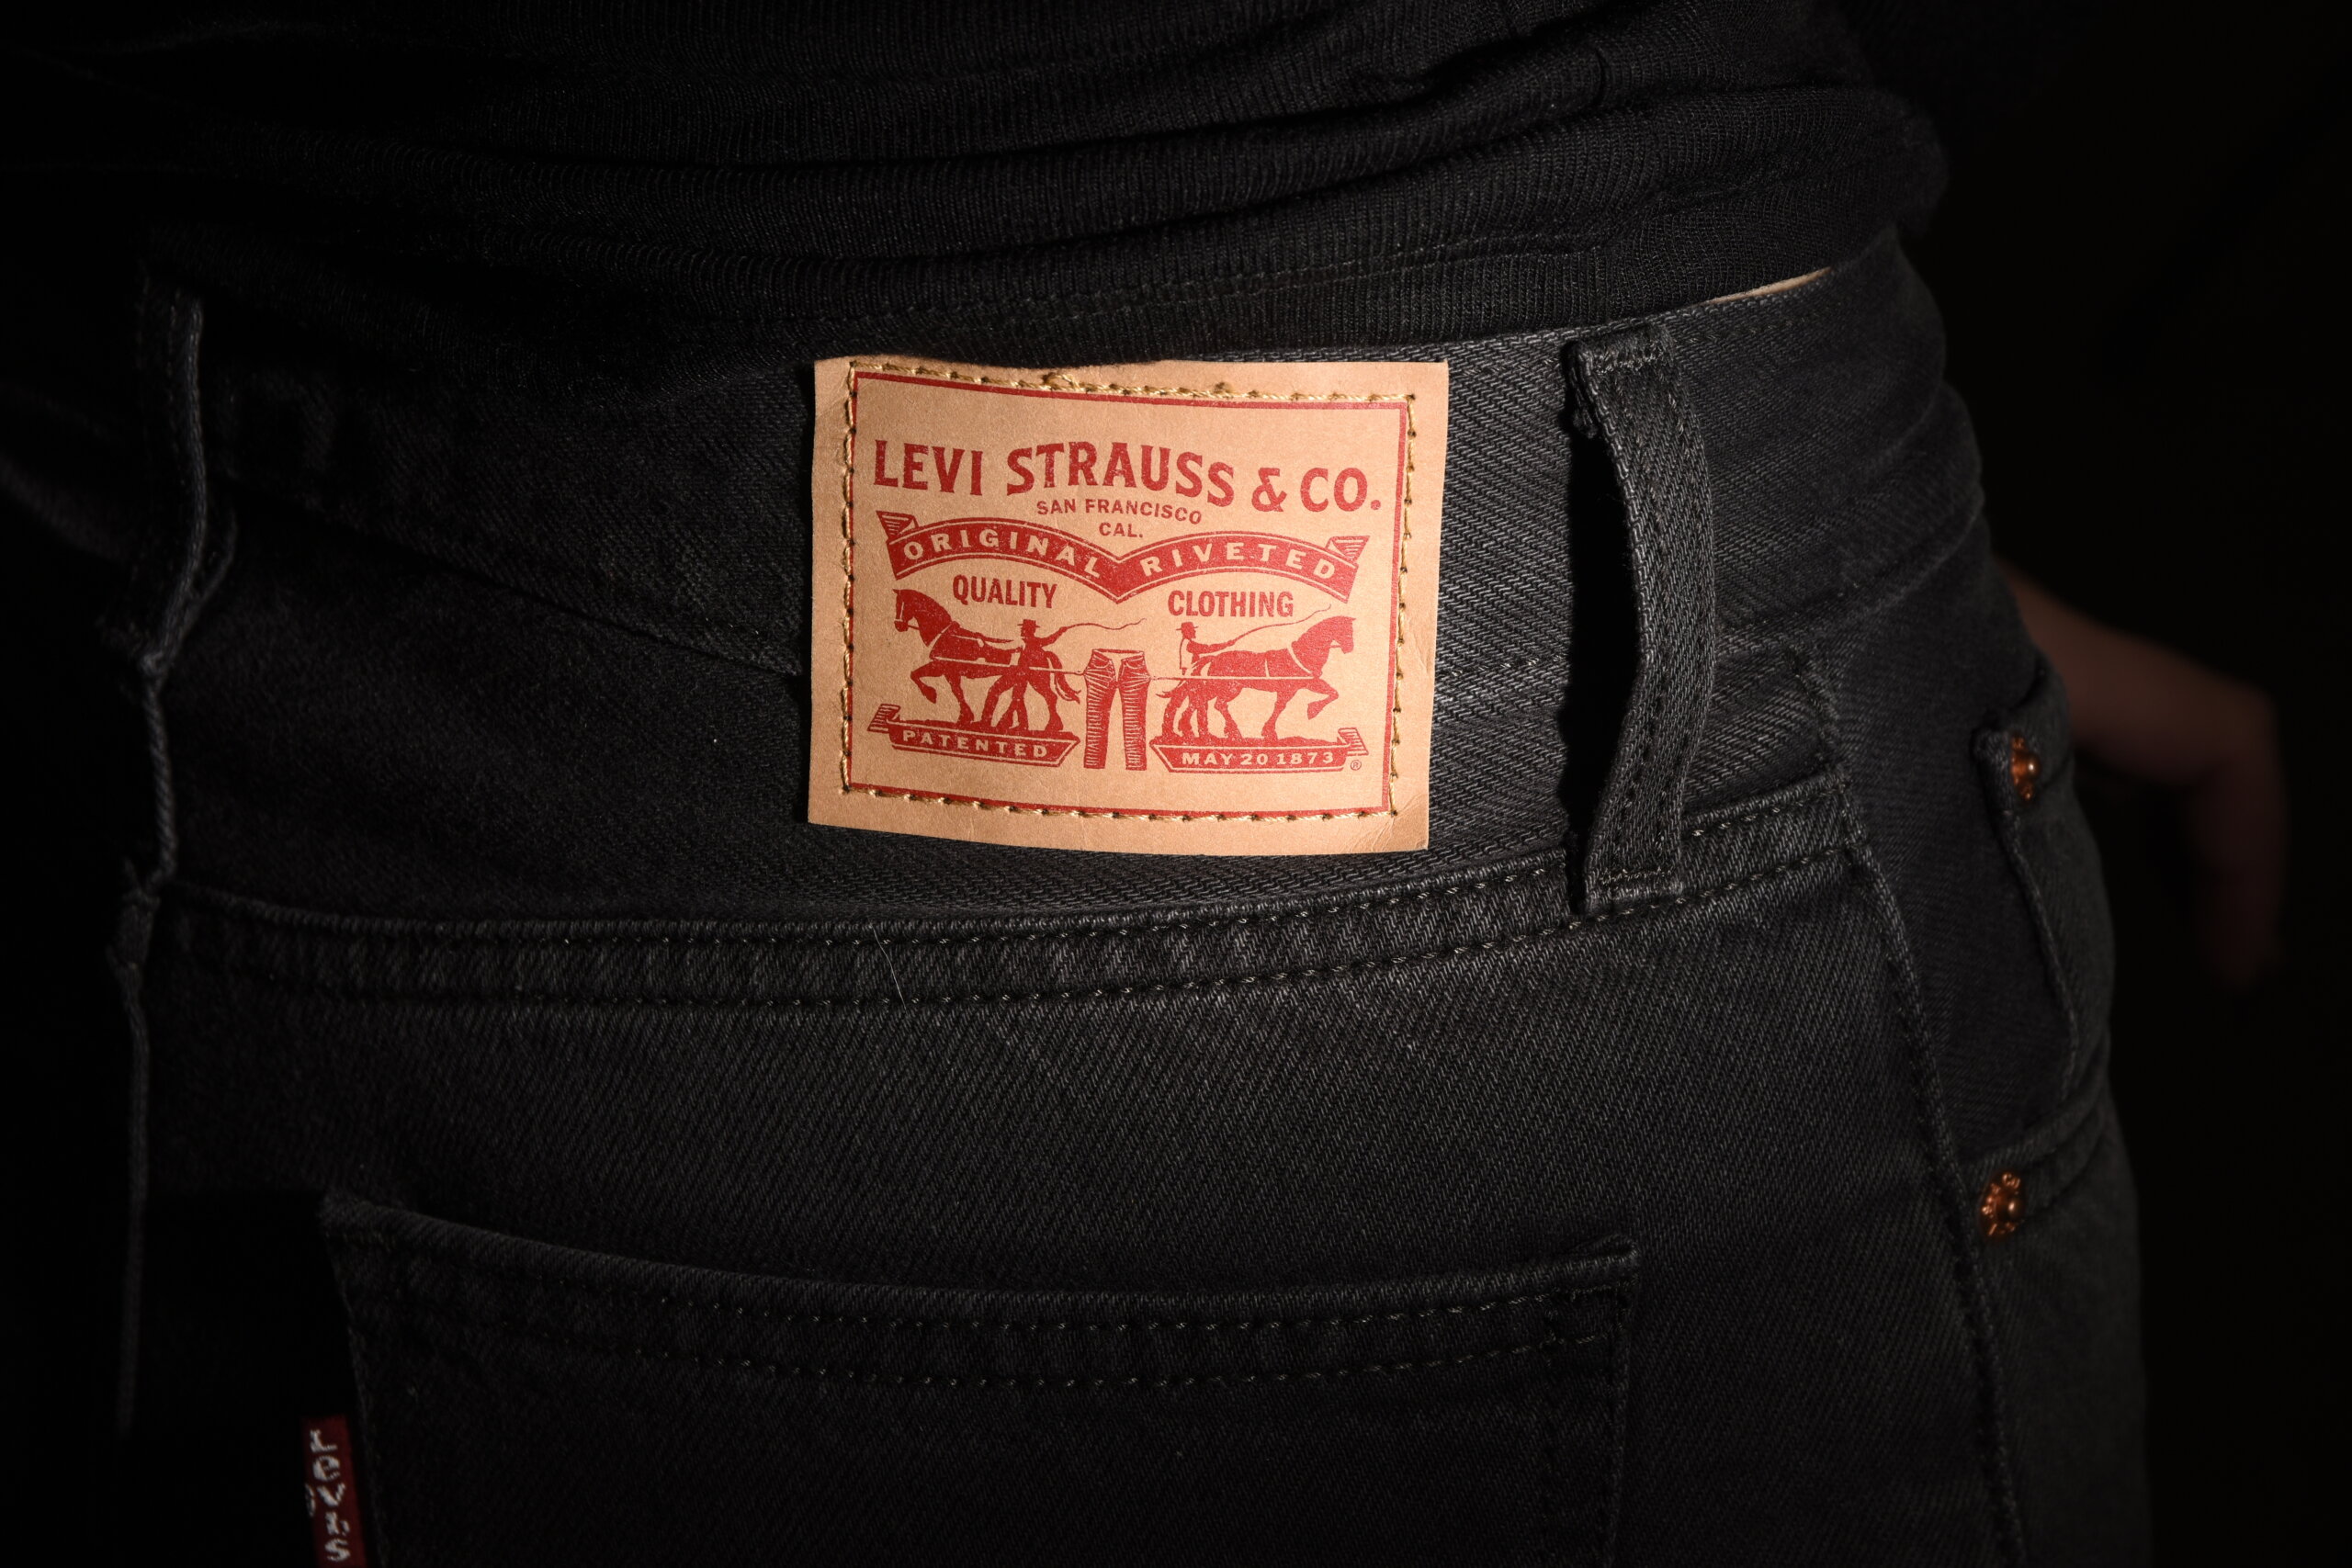
I struggled to take myself seriously, trying to hold in my nervous laugh, so for the remainder of the session I shifted focus to the details of my outfit. Using a honeycomb lighting attachment, I captured the intricacy of my lace cami top, as well as a sleek shot of classmate, Molly’s, Levi’s jeans label.
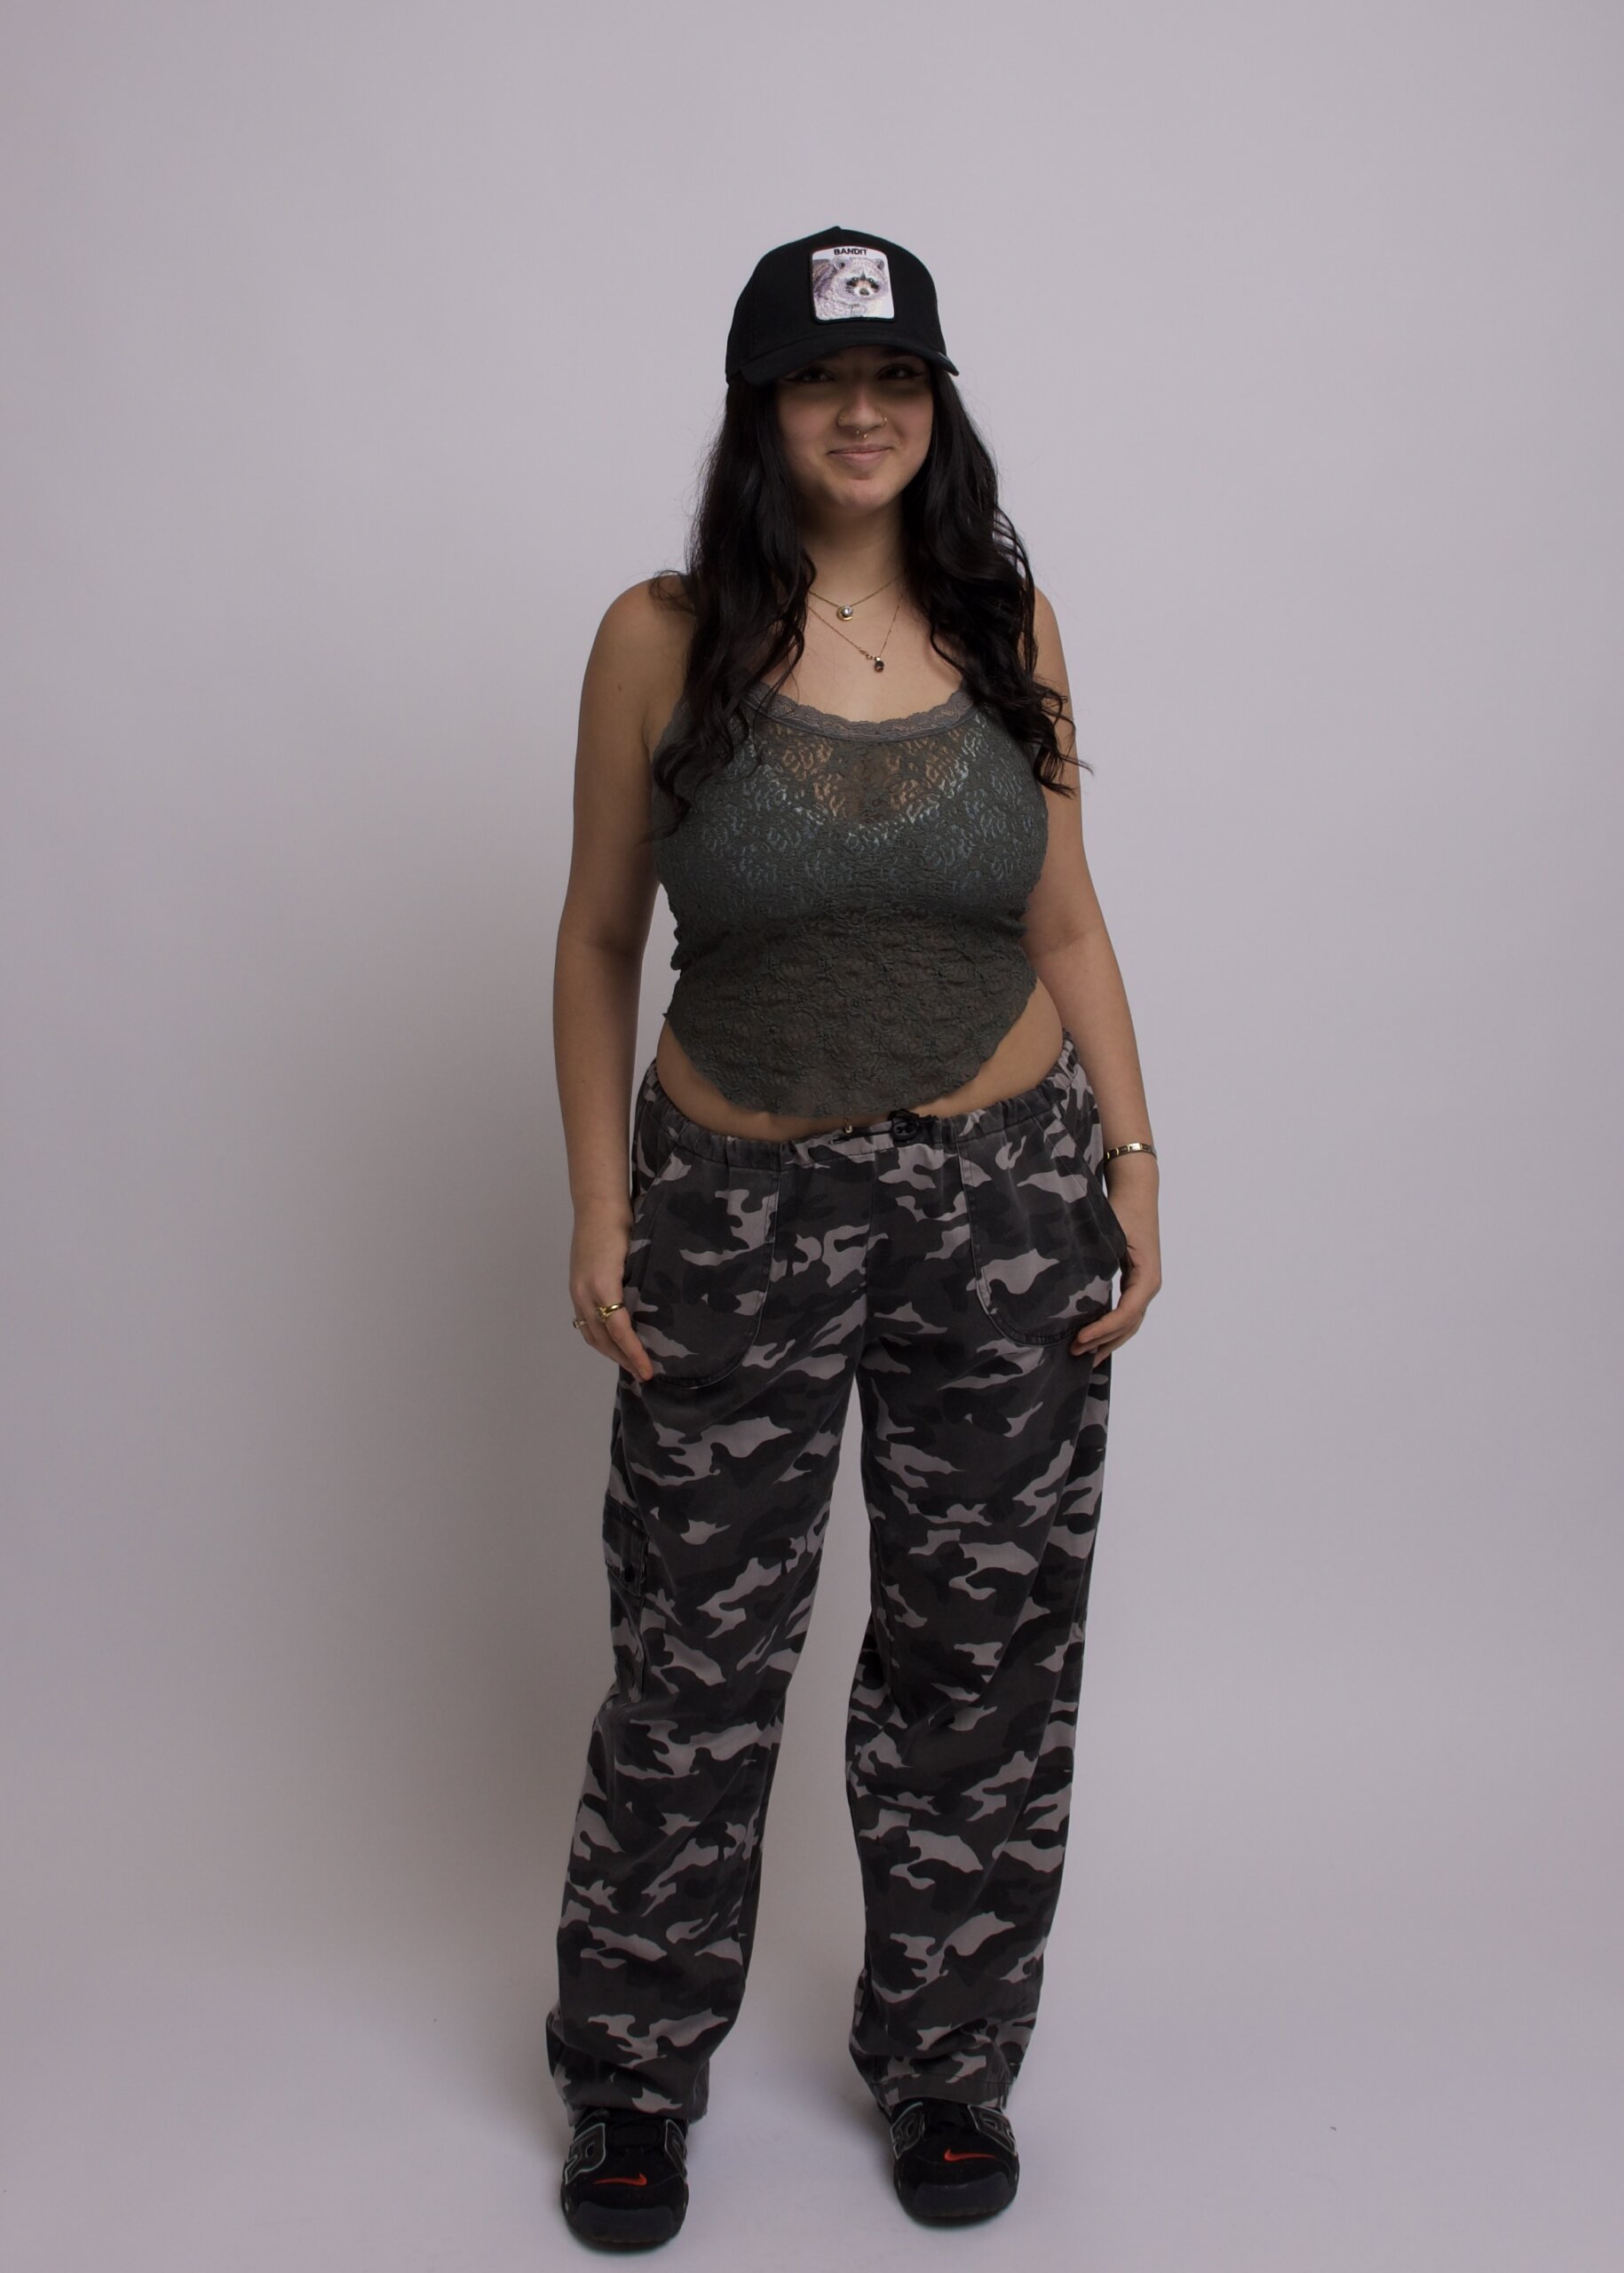
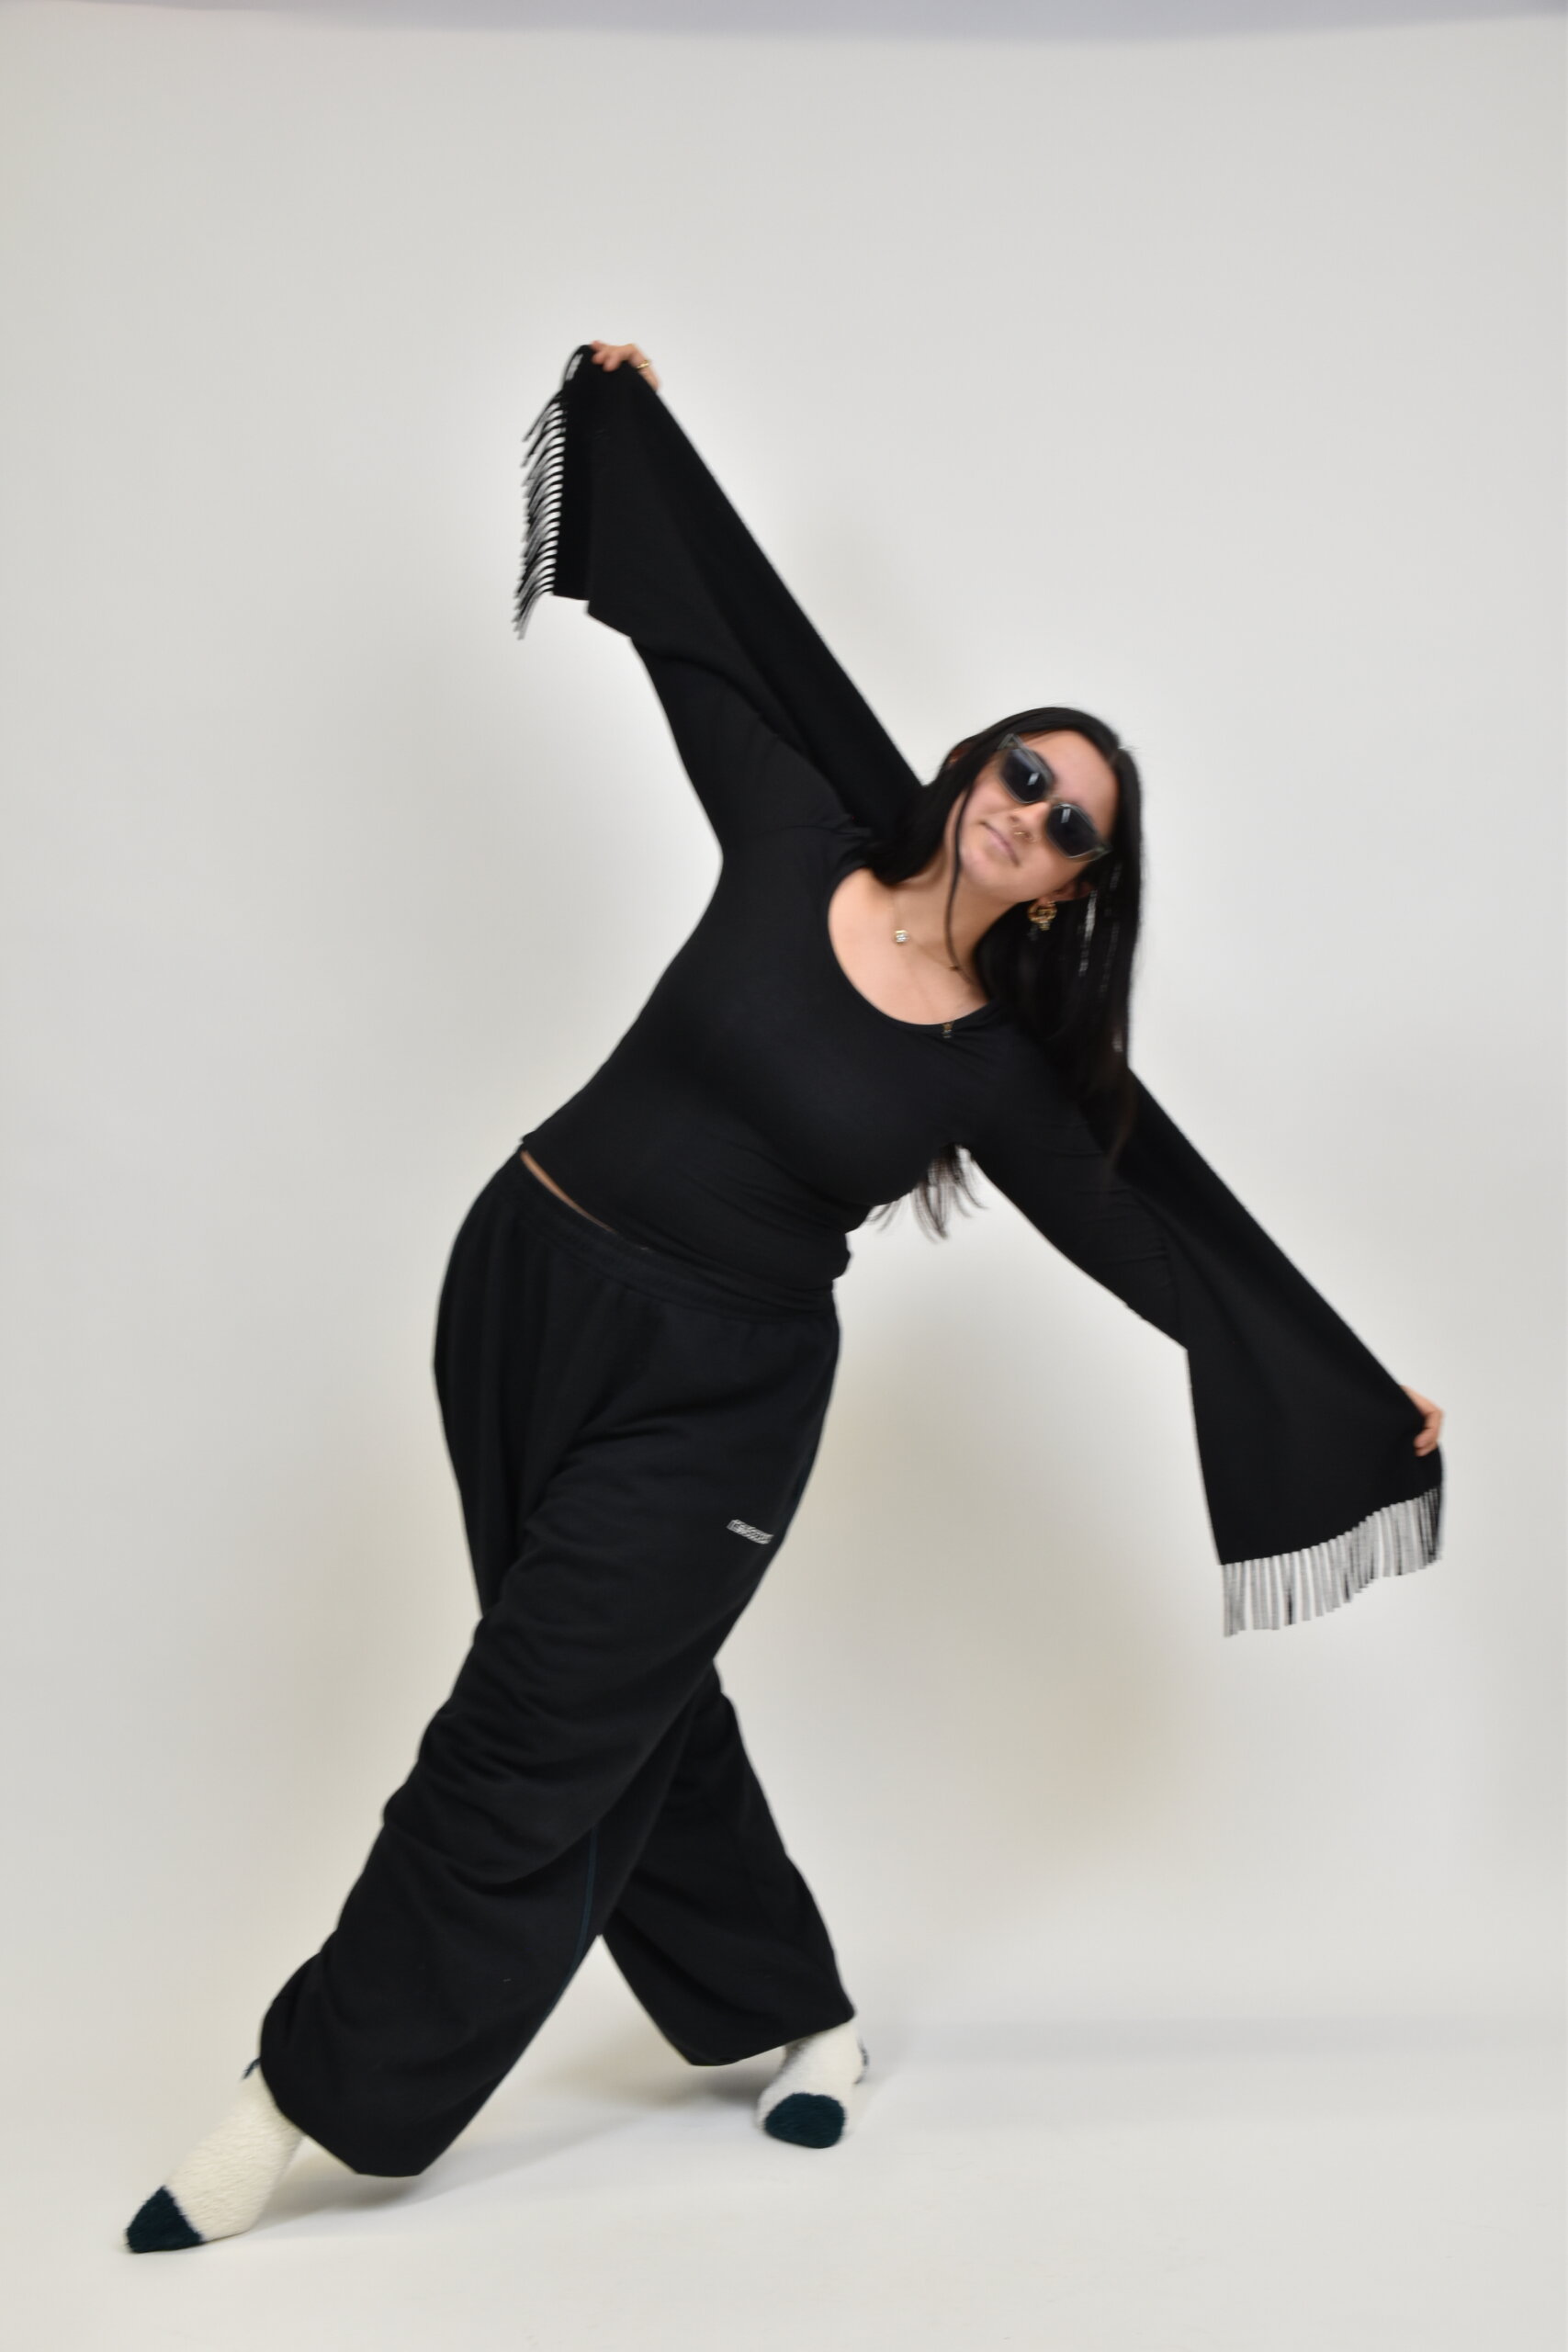
In our second session, we continued with our own style, so I chose to wear what I wear the most – all black, long sleeved top and oversized jogging bottoms. I am one to choose comfort over style (guilty), but I always make sure that whatever I am wearing is colour co-ordinated at least. I tried out some sitting poses, which I turned out to quite like, as you can capture more detail across a smaller area. I also used Molly’s scarf as a prop, and posed in a way that extended my arms and legs to create an interesting shape.

We then tried out more photography equipment, like coloured overlays for lighting effects. I like using these as they are a quick way to add ambience to a shot, as well as colour without changing the backdrop. I even tried using two overlays at a time, each covering a section of the light, which achieved a lovely gradient effect. Using photoshoot, I edited these photographs to refine details, remove unwanted threads/hairs and adjust the hue and saturation. I ended up creating a cool self portrait by playing around with layer opacity and blends, and adding a solid subject outline which created a technological matrix-like effect.

Following these sessions, I was a lot more comfortable using photography equipment and having my photos taken. Therefore, I was eager for the next few weeks and the styling challenges we would be doing.